
I’ve started a new side project I’m pretty excited about. I’m making a fantasy console-based inspired by PS1 era technology. There is quite a lot to the project, but for now, I wanted to talk about the rendering, which was my first step in this project. In this article, I’ll detail all I’ve learned in researching the PS1 and other retro game consoles. And of course, how I’ve implemented it in the fantasy console, which will be called Polybox. Note that I’ve not gone into 2D sprite rendering because it’s somewhat simple and this article is long enough as it is.
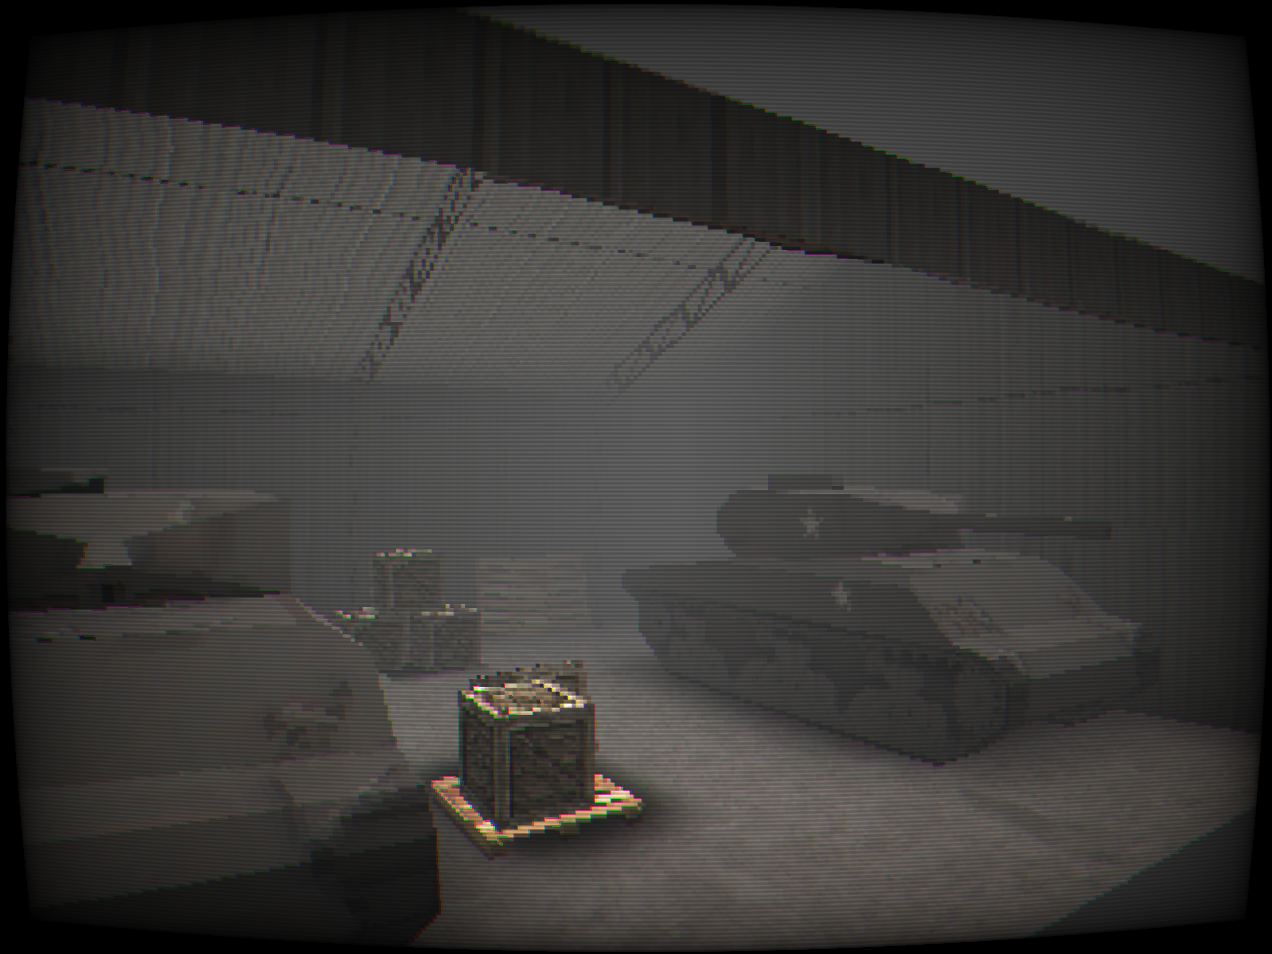
Here’s the end result I’ve achieved in the Polybox console,
If you’re not familiar with fantasy consoles, they are fictitious virtual game consoles for making and playing retro-style games. The most famous example is Pico-8, a 2D 8 bit fantasy console that is an absolute joy to make games for. There are now quite a few 2D fantasy consoles, but 3D is a lot more complicated and potentially difficult. Nevertheless, I decided I wanted to see if a 3D fantasy console could work, and I’d base it on my favourite retro 3D console, the Playstation 1. The other big reason I wanted to go with a PS1 inspiration is that its rendering capabilities are quite basic, which would help to keep things as simple as possible.
The first step in this process was of course figuring out what gave PS1 games that distinctive look? I’m no expert in retro hardware, and I don’t feel knowledgeable enough to explain in this article exactly how the hardware of the PS1 worked, but I did do a lot of research into this area and I’ve provided links below that you might enjoy. Learning this stuff gave me somewhat of a clear idea of the major components that led to the look. Of course, there was copious amounts of looking at and playing PS1 games myself.
The major components I could identify were roughly:
Let’s go into a bit more depth into each of these and how they contribute to the look
The most obvious and clear aspect of the PS1 look is the general low fidelity of everything. This appeared to be due to the geometry transformation engine (GTE) simply not being able to process that many polygons per frame. This Wikipedia article states that the GTE could only process 90,000 polygons per second with texture mapping, lighting and smooth shading. I suspect in practice this limit was not a fixed number but rather highly dependant on your game and what features of the GTE you were using. The point is it’s not that much, compared to say modern GPUs which can render literally millions of polygons per frame let alone per second.
The other obvious limit is texturing. Texture pages on the PS1 hardware had a limit of 256 by 256 pixels and so it seems this was generally the largest texture size most models used. These days games often use multiple 4k (4096x4096) textures per model, especially for hero props or primary characters so this is somewhat limiting.
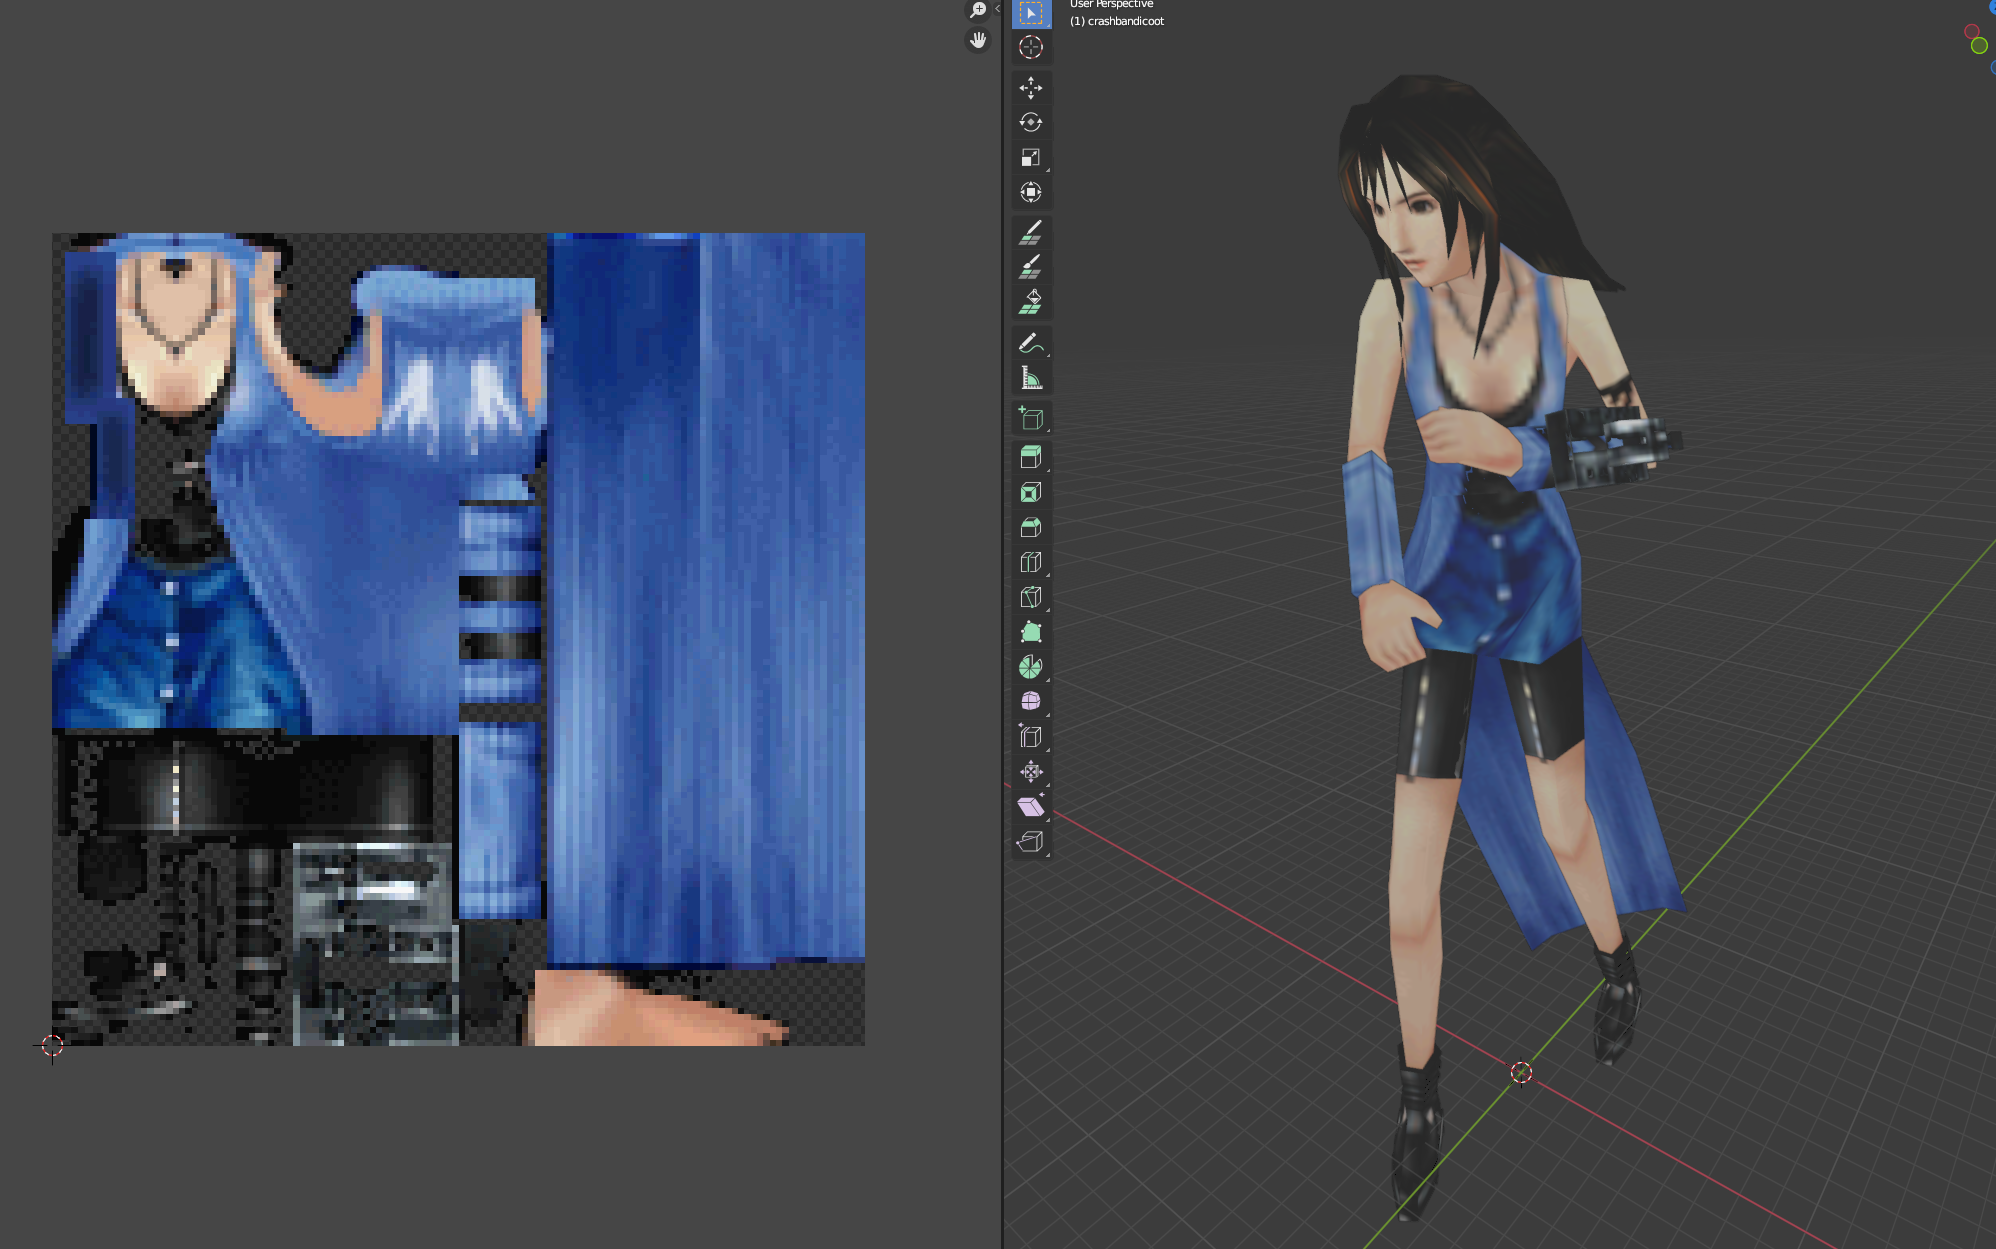
A YouTuber named LittleNorwegians has an excellent tutorial showing how PS1 textures are often made in games like Metal Gear Solid and Silent Hill. There is a common thought that PS1 models must have textures made from spliced and edited real photographs, and while real photographs were used in PS1 textures, in all the research I did, textures were combinations of images, hand painting and various effects as is shown here.
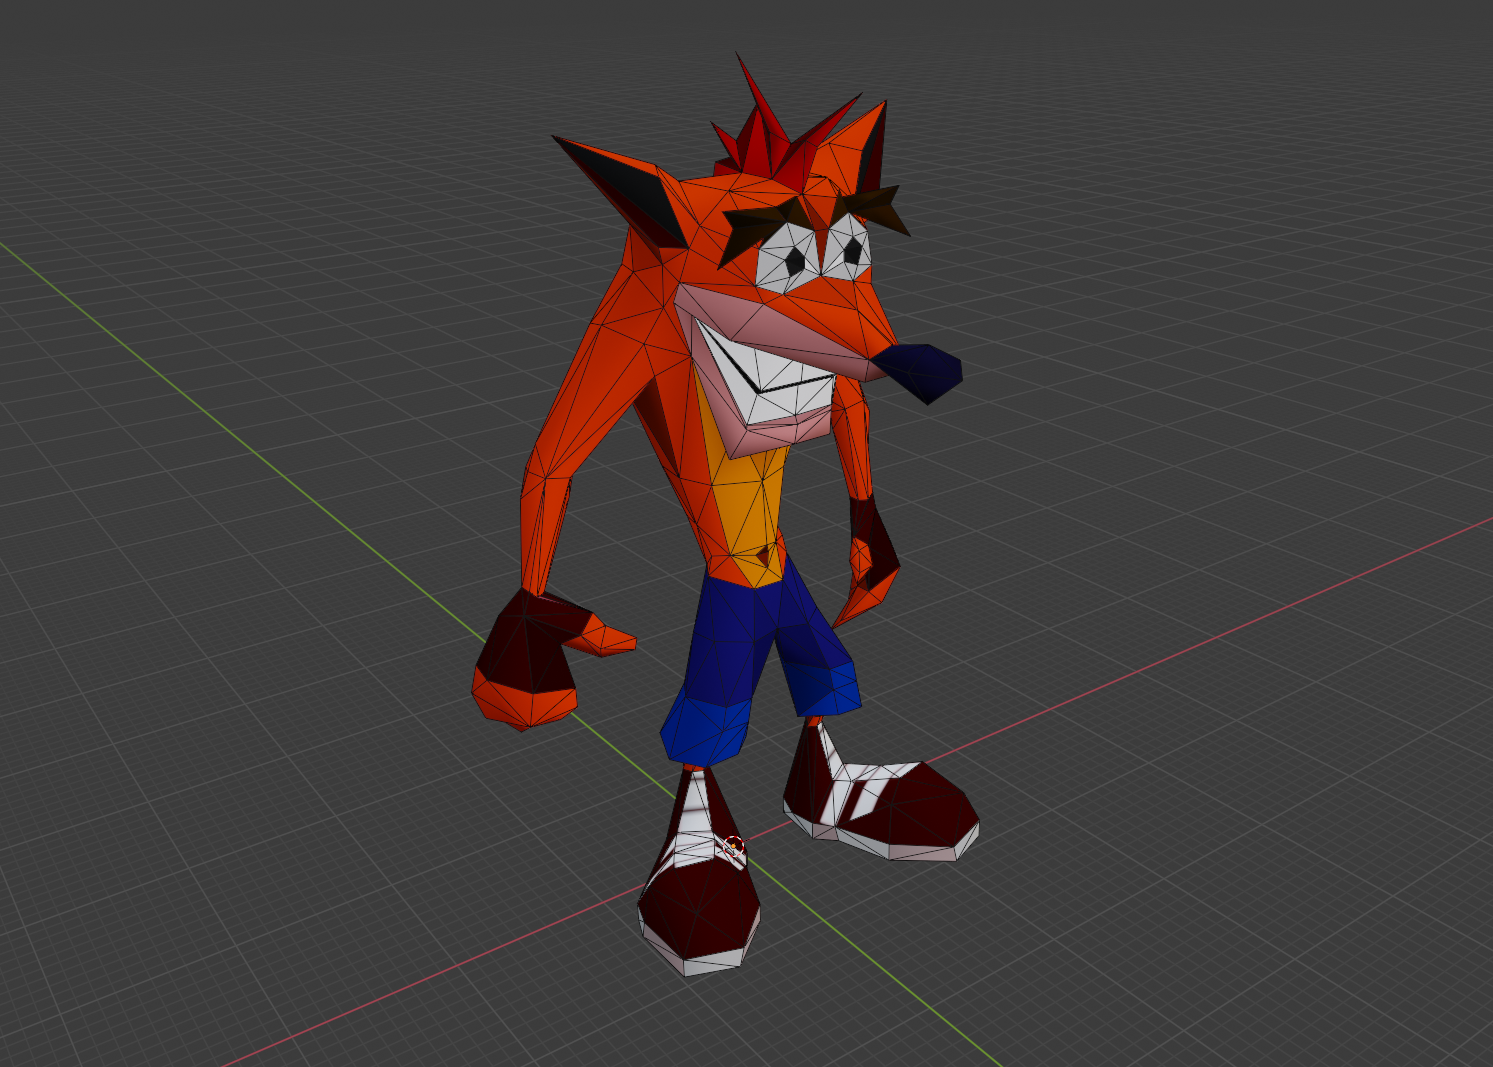
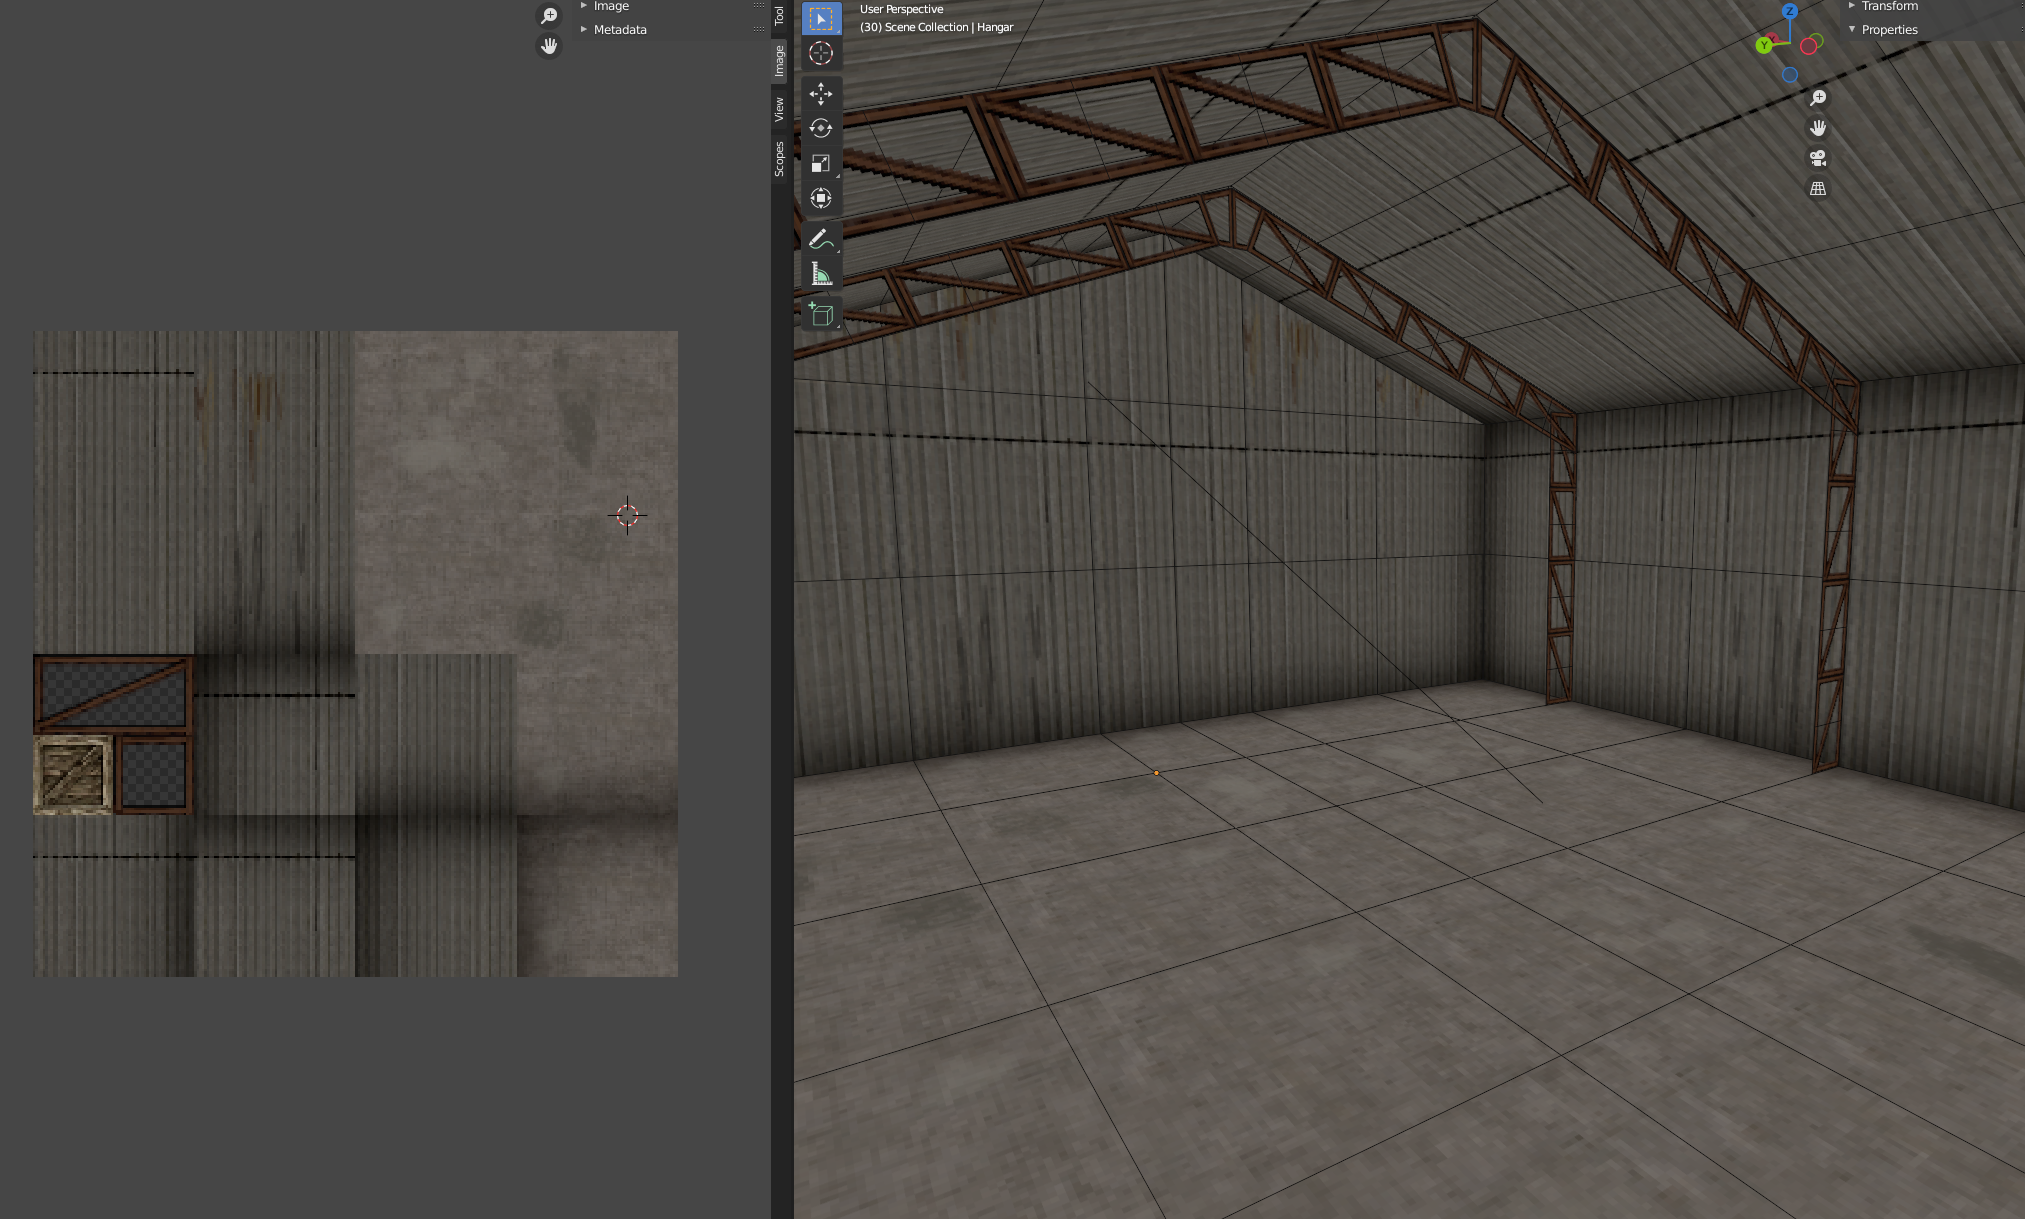
If you attempt to make some PS1 style art you might find that large environmental artwork such as buildings, streets, and so on are very difficult to do with such restrictive texturing limits. You find it interesting to note that the technique I found to be most popular among a lot of PS1 games was to break the environment up into tiles and then each tile maps to a specific section of a texture.
@98Demake on twitter did an excellent breakdown of the Silent Hill environment art and you can see the technique being used heavily there:
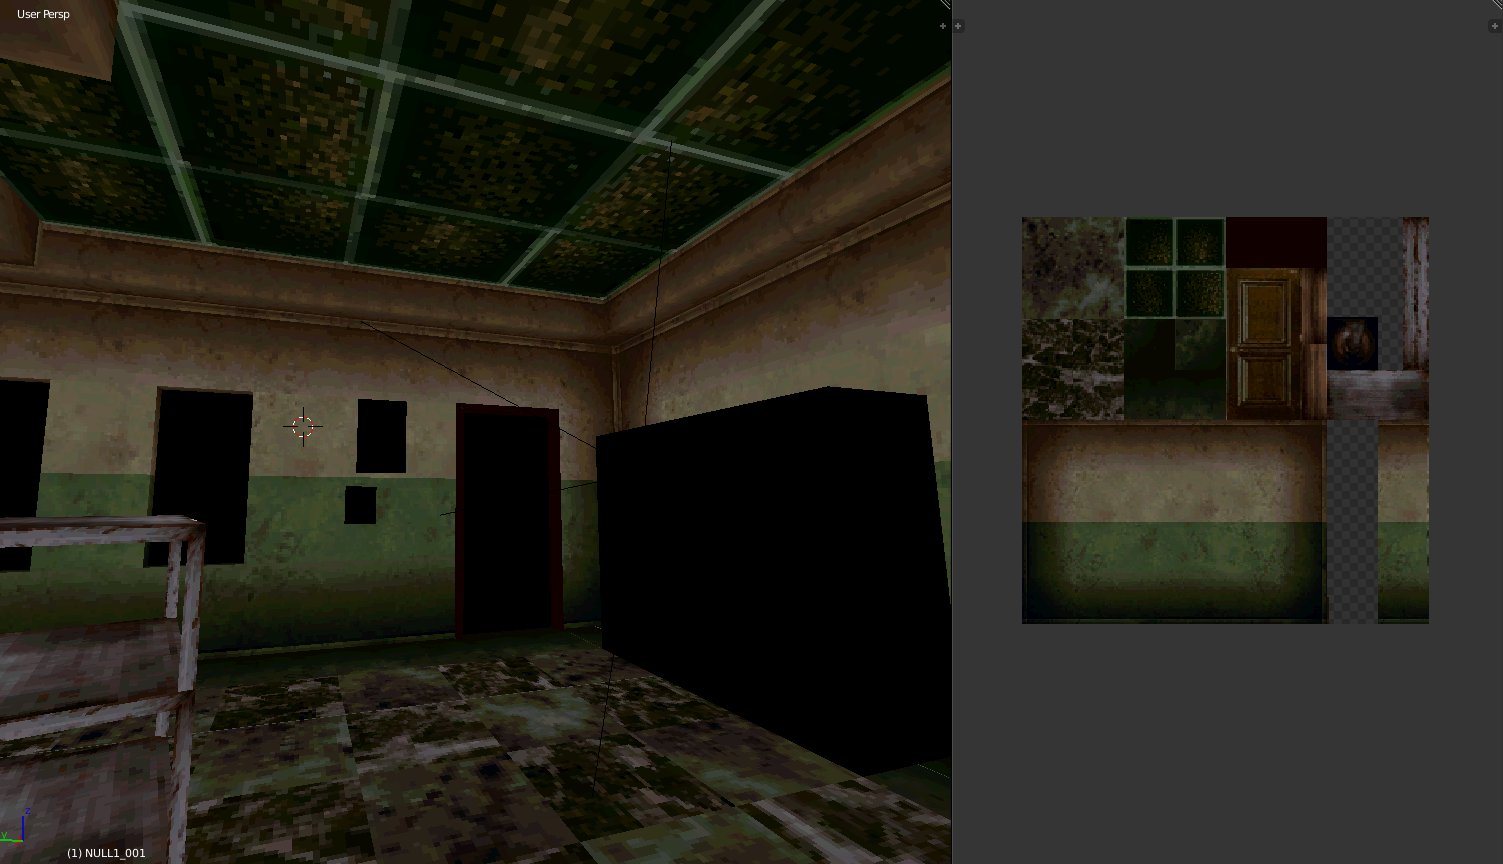
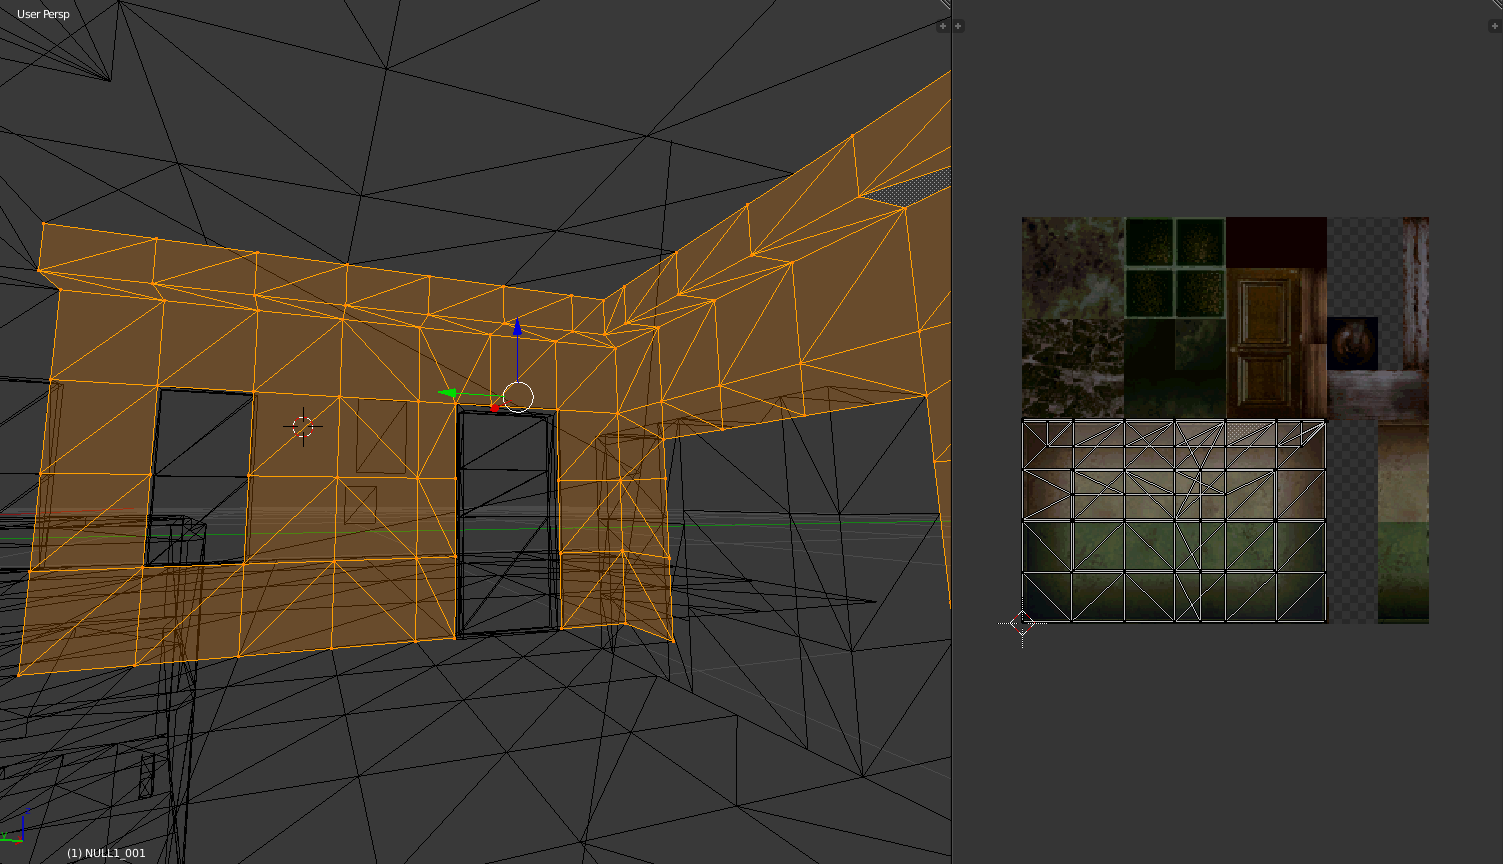
I’ve similarly used the technique for the hangar in my tank scene you’ve seen above:
Now though, let’s get back to the actual technical details of the rendering system…
I feel like the one thing almost everyone can remember about the PS1 is how everything jittered and shook all the time. In my initial research, everyone blamed this on the geometry transformation engine (GTE) having only fixed-point maths, and so everything was imprecise. I found this actually to not be the main reason. Don’t get me wrong it does contribute to some numerical inaccuracies sometimes, but it’s not the reason everything seemed to shake. The actual reason seems to be a lack of subpixel rasterization.
Subpixel rasterization is where the rasterization algorithm can take into account vertices and edges that are not perfectly aligned to the grid of pixels. Playstation, lacking this, had all vertices snap to the pixel grid. To demonstrate this in a more practical manner I’ve made this animation. Below are two rotating triangles, that are rotating at the same angular rate. The second one is what you see on PS1.
Modern day, subpixel rasterization:
but on PS1 it looks like this:
When you combine this with an output resolution of 320 by 240 pixels, it can be very obvious that the polygons are jittering. If you pay close attention you can see that the actual shape of the polygon is changing due to the vertices moving to the grid, so the whole triangle sort of shakes and wobbles.
This is relatively simple to implement with a modern-day shader. We just snap vertex positions to pixel locations in the output resolution and disable all anti-aliasing methods.
vec2 grid = targetResolution.xy * 0.5;
vec4 snapped = vertInClipSpace;
snapped.xyz = vertInClipSpace.xyz / vertInClipSpace.w;
snapped.xy = floor(grid * snapped.xy) / grid;  // This is actual grid
snapped.xyz *= vert.w;
The next most significant limitation of the PS1 rendering architecture is the lack of a depth buffer, which has several implications we’ll go through. Firstly, if you’re not familiar, a depth buffer is a grayscale view of the frame that is stored internally that has a depth “value” for every pixel, telling you how far away it is from the camera.
The PS1 had no such depth buffer and it was up to the developer to draw all the necessary primitive shapes in the correct order, starting at the back and drawing closer things later. The PS1 development libraries had things called ordering tables to help you do this. Primitives would be placed in the table at a location tied to their distance from the camera, then the list would be walked through to render the scene. Sometimes though multiple things might disagree about their depth and flickering bugs would occur.
An example of this kind of depth error can be seen in the top left of the frame in this clip from Tomb Raider (starting at 53:35)
I decided not to recreate this type of glitch in my PS1 renderer for a couple of reasons:
I believe it is still very possible to recreate these types of glitches with a modern GPU, either by not using a depth buffer and implementing ordering tables, or an idea I’ve been playing with is overwriting values in the depth buffer with solid depths for each primitive, therefore forcing the rasterizer to effectively sort per primitive. At the time of writing, I’ve not tried this, but I’ll update the article if I do.
As mentioned before, there are some other consequences of the lack of depth buffer which contribute more heavily to the famous look of PS1 games, one of which is warped texturing.
When you google around about PS1 rendering you’ll inevitably come across information about texture warping, probably one of the more well-known aspects of the PS1 look, textures often looked very warped at high angles relative to the camera. Let me demonstrate:
To figure out why this happens, let’s look first at how you naively might map a 2D texture to a 3D surface. As you might be aware this is usually done by assigning a 2D coordinate to each vertex. As you rasterize the pixel to the screen you could linearly interpolate the 2D coordinates across the triangle, and then look up the colour of the texture at that interpolated coordinate and place it on the screen.
The basic linear interpolation is defined like this,
\[u_{\alpha} = (1-\alpha)u_{0}+\alpha u_{1},\]
\(\alpha \) here is some 0-1 value on the screenspace surface of the triangle. So there are two alpha values (you'd use the other one for the \(v\) coordinate), and they allow you to define a point on the surface of the triangle. Since they smoothly blend across the triangle, you can use them in the above equation to blend the UV coordinates from each vertex. The result will be a UV coordinate that you can use to lookup in the texture.
This is called “affine texture mapping”. This is what’s used on PS1, and you can see it working in the clip above. So why doesn’t it work? Well, it’s all because of perspective. Let’s take our quad above and look at it flat and at an angle,

Remember we’re doing everything in screen space. So to map the centre of the rotated quad, we would take the centre of the diagonal in screen space, and map it to the centre of the quad. However, you’ll see that taking the centre of the diagonal was the wrong approach.
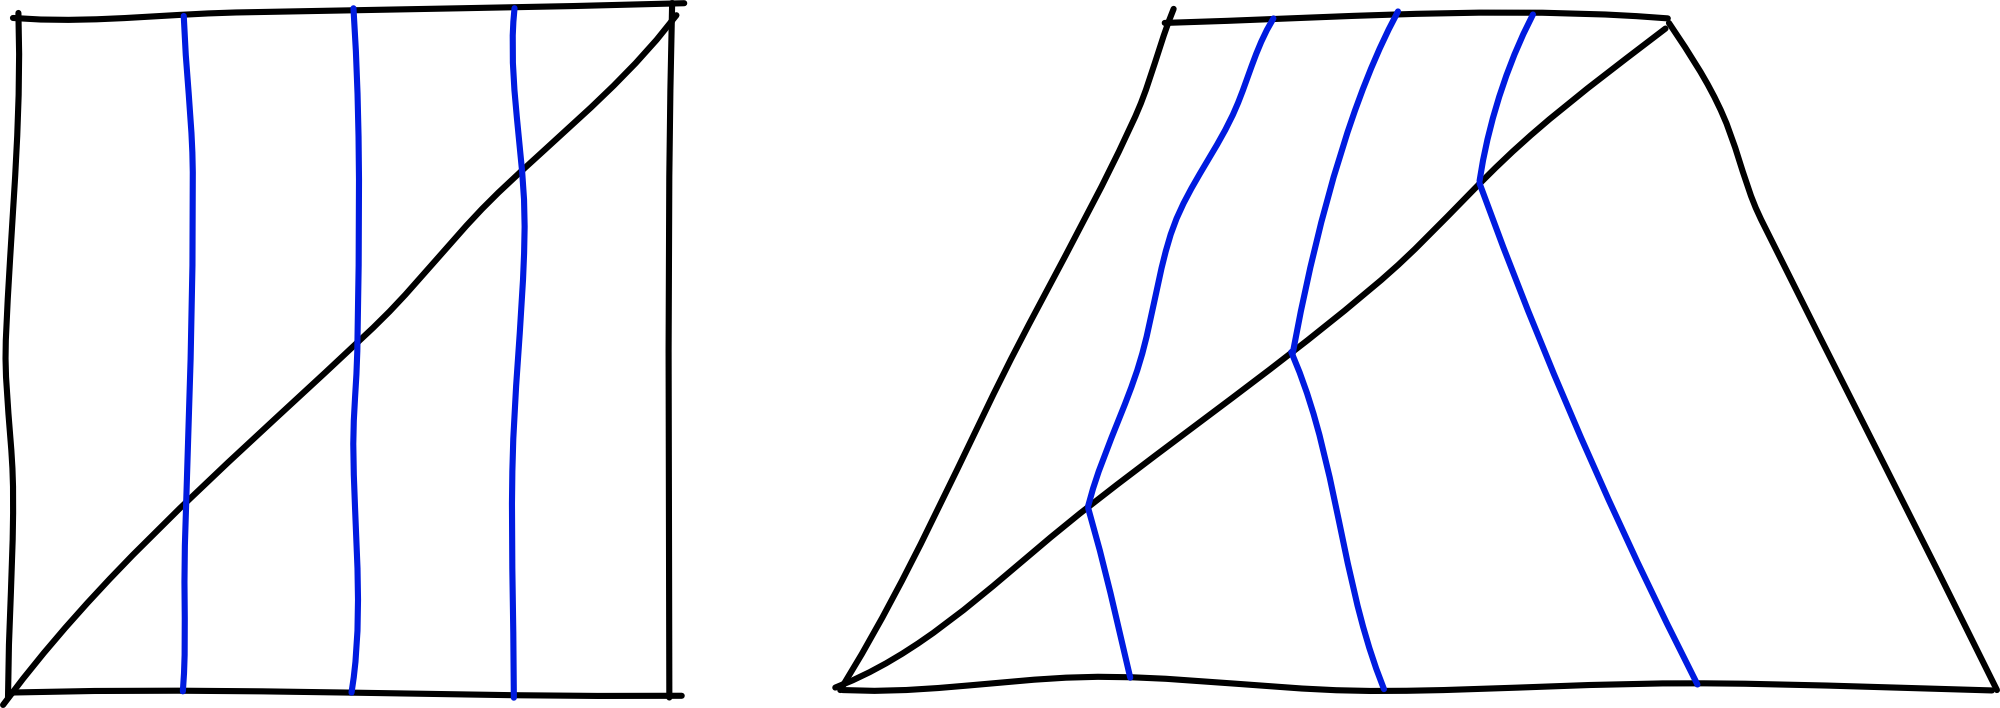
I admit this is a little difficult to get your head around. But if you use your fingers on your screen right now, you can verify that in the rotated quad, the central blue line does in fact cut through the centre of the diagonal. This is precisely the issue. This primitive screen space approach gives a warped view of the texture when depth varies a lot.
So how does one fix this? Well, the way it is done in modern GPUs is to take advantage of the fact that you can do linear interpolations if you can convert the 2D coordinates into something linear in screen space. A way to do this is to divide them by the depth value of the coordinate.
It gives us the following new set of coordinates,
\[\frac{u_{n}}{z_{n}}, \frac{v_{n}}{z_{n}}, \frac{1}{z_{n}}\]
Since this is now linear in screen space, we do our interpolation like normal and then multiply by the depth value to get back to texture space. The resulting interpolation algorithm looks like this for the \(u\) coordinate,
\[u_{\alpha} = \frac{(1-\alpha)\frac{u_{0}} {z_{0}}+\alpha \frac{u_{1}} {z_{1}}} {(1-\alpha)\frac{1}{z_{0}}+\alpha \frac{1}{z_{1}}}\]
Doing this for our texture mapping is a little unintuitive at first, but hang in with me,
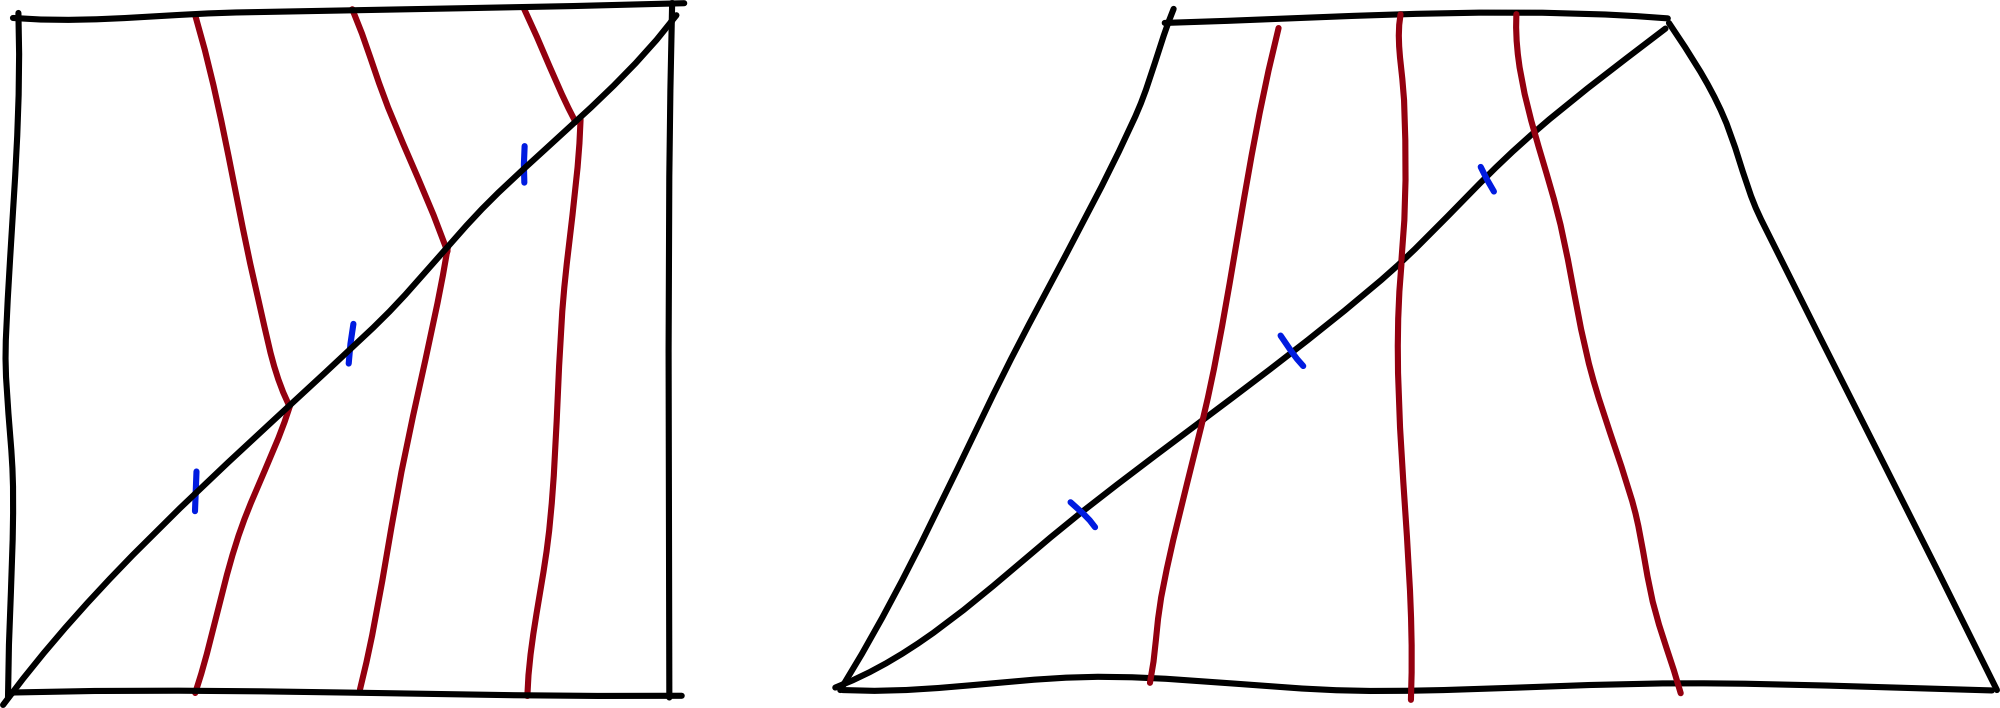
If we try this again on our quad, you can see how the vertical lines are mapped from the quad onto the texture map. It perfectly solves our problem, but how? Well if you think about points along the diagonal edge, distances between the points are larger on the screen the closer the edge is to the near plane of the camera. So naturally, the sections closer to the camera need more texture density to look correct, which ends up biasing our texture lookups to be larger on the side closest to the camera.
However, if we’re still using a PS1, this interpolation is far more expensive, involving divisions particularly, and of course the geometry transformation engine has put everything in screen space, so we don’t even have a depth value and couldn’t do this even if we wanted to. So the PS1 is left instead with perspective incorrect texture mapping, and this is what you see as warped textures on the PS1.
Anyway, implementing this is extremely easy on modern GPUs, since you can explicitly ask vertex data to not be interpolated with perspective correction. Using both hlsl or glsl you can specify the noperspective type qualifier on vertex input data, and voila, it is done.
There is another form of strange texture behaviour you may have noticed playing PS1 games, and that’s situations where the whole texture itself “pops” to seemingly different mappings. It is quite difficult to describe this, so I will instead show you this clip of me moving away and toward a wall in Medal of Honor:
As you can see, the textures are warped as we saw above from affine texture mapping, but the mapping changes as I get further and closer away and makes it all wobble a bit more. What’s going on here? It took me some time to figure this out, and it involved using GPU debuggers to analyze the geometry and texture data of the frame, but with some research, I worked it out!
The geometry is tessellated and divided up on the fly!
There are two reasons this is happening. The first is actually to alleviate clipping. Clipping on the PS1 occurs per primitive, rather than per pixel, and so if you have large polygons close to the camera, it’ll be quite visible that they’ve disappeared. You can see this again in Tomb Raider in the following clip (starting at 53:55). Look in the bottom right for a whole polygon to clip off-screen.
The second reason, if of course to alleviate warped texture issues. If you have more polygons, then there are fewer pixels where you must interpolate the texture coordinates, and so the less warped it will be.
This is another feature that I have not yet implemented in my PS1 renderer, again because it does not contribute enough to the look considering the work involved in implementing it. I will update this article should I get to implementing it in the future.
Okay moving on, we’ll talk about lighting. PS1 came from a time long before programmable shaders so the lighting options were largely decided for you, and very limited. The PS1 rasterizer offered two options, flat shading and Gouraud shading, they look like this:
Flat shading is the most basic kind of shading you can do. The lighting values are constant for each primitive, which back in the PS1 days is a big boon to performance. For most aesthetics though, this is not sufficient to make things look smooth and realistic.
Gouraud is the answer to this. It’s not hugely complex and you may have come across it before. It’s simply an older attempt at smooth shading before it was feasible to do lighting calculations per pixel, which is what we do these days. You can tell from the above diagram that each vertex has its own discrete light level, and those light values are interpolated across the polygons. It is worth noting that the interpolation involved in Gouraud shading is the same as used in texture mapping, and so it is subject to the same perspective warping artefacts, though it is commonly much less noticeable.
Implementing this on modern hardware is fairly straightforward. You do your lighting calculations in the vertex shader and output a colour per vertex to mix with the texture mapped colour in the fragment shader.
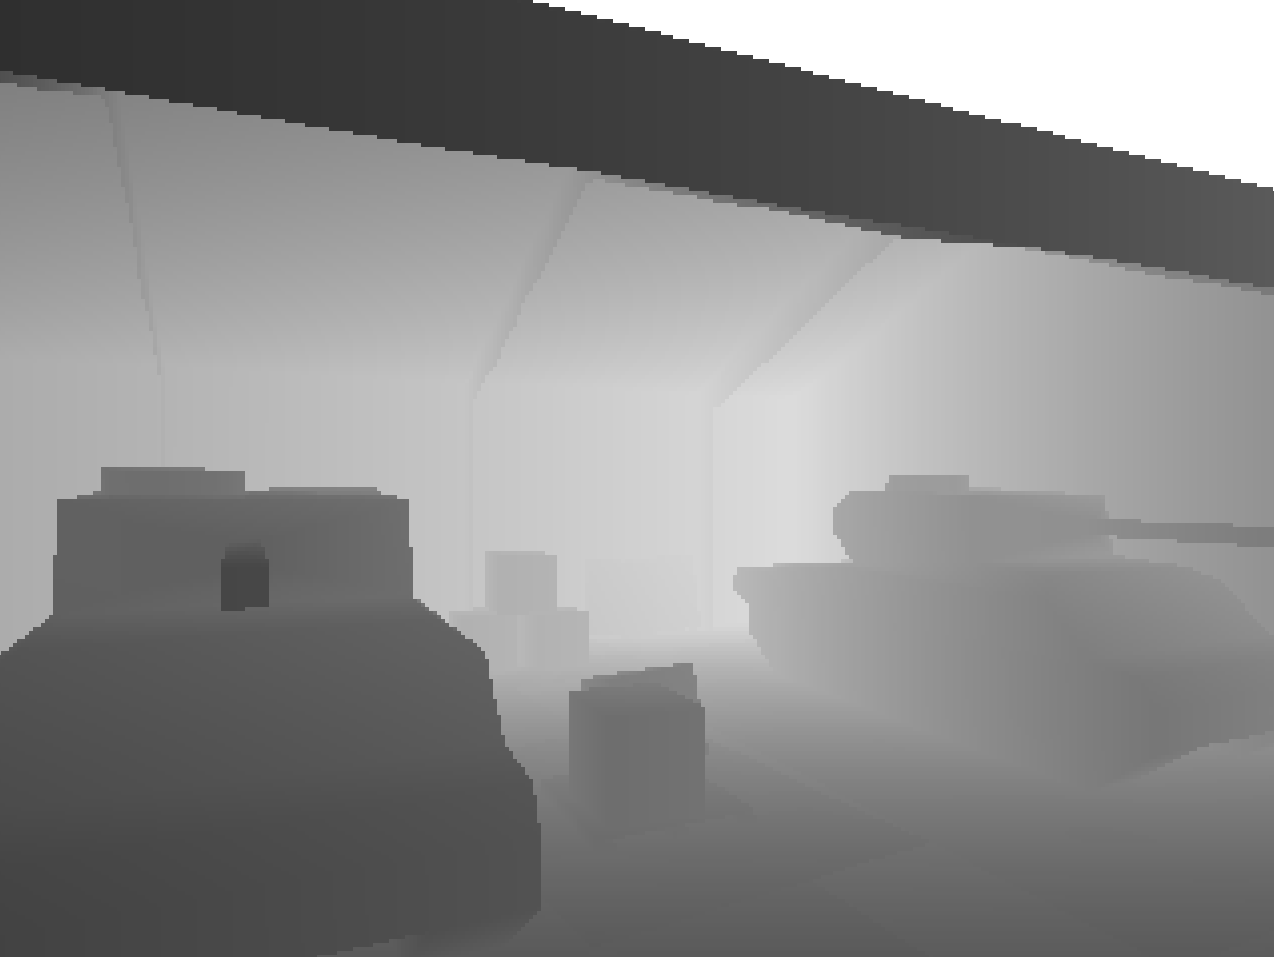
The final feature of the PS1 rendering system I wanted to capture is depth cueing, otherwise known as fog. Famous these days probably for its use in Silent Hill,
Quite a few games didn’t actually use this when I went looking or had the start distance of the fog quite some distance away. A good example was Spyro,
Anyway, fortunately, this wasn’t too difficult to figure out. It’s emulated in a modern shader by calculating the depth of the vertex in view space and then doing an inverse lerp to get back a fog density value which we output to the fragment shader
vec4 depthVert = mul(u_modelView, vec4(a_position, 1.0));
float depth = abs(depthVert.z / depthVert.w);
v_fogDensity.x = 1.0 - clamp((u_fogDepthMax - depth) / (u_fogDepthMin - u_fogDepthMax), 0.0, 1.0);
In the fragment shader we just mix this with the output colour we’d usually render out
vec3 output = mix(color.rgb, u_fogColor.rgb, v_fogDensity.x);
Combing this with all our above techniques we get our output image minus the CRT image effect
We now have a fairly solid idea of how to recreate the look of a PS1 game, so my fantasy console needs to wrap this up in some sort of API that can be used. This is where a lot more of my creative freedom comes in. I decided that I didn’t want to recreate the PS1 API, but rather something simpler and easier to use such that people could pick up this fantasy console and begin making games relatively easily. Given this, I decided to use something more like a fixed function pipeline API.
If you’re not familiar, fixed-function APIs are rendering APIs where you cannot actually write code for the GPU to execute, but rather you called fixed entry points that invoke the GPU to execute predetermined processes. Old OpenGL APIs are like this, as well as some older console rendering APIs. Polybox will use an API like this, and internally it will use a modern rendering API to draw what you describe with the fixed-function API.
This is how you’d render a single triangle with a transform applied to it:
SetMatrixMode(MatrixMode::View);
Identity();
Translate(Vec3f(0.0f, 0.0f, -10.0f));

BeginObject(PrimitiveType::Triangles);
  Vertex(Vec3f(1.f, 1.f, 0.0f));
  Vertex(Vec3f(1.f, 2.0f, 0.0f));
  Vertex(Vec3f(2.0f, 2.0f, 0.0f));
EndObject();
We provide various functions on top of these basic ones that let you enable and control texture mapping, lighting, depth cueing and other such things in a fairly simple way. In fact, it’s so simple I can share the entire API with very few lines of code:
// Basic draw
void BeginObject(EPrimitiveType type);
void EndObject();
void Vertex(Vec3f vec);
void Color(Vec4f col);
void TexCoord(Vec2f tex);
void Normal(Vec3f norm);
void SetClearColor(Vec3f color);

// Transforms
void MatrixMode(EMatrixMode mode);
void Perspective(float screenWidth, float screenHeight, float nearPlane, float farPlane, float fov);
void Translate(Vec3f translation);
void Rotate(Vec3f rotation);
void Scale(Vec3f scaling);
void Identity();

// Texturing
void BindTexture(const char* texturePath);
void UnbindTexture();

// Lighting
void NormalsMode(ENormalsMode mode);
void EnableLighting(bool enabled);
void Light(int id, Vec3f direction, Vec3f color);
void Ambient(Vec3f color);

// Depth Cueing
void EnableFog(bool enabled);
void SetFogStart(float start);
void SetFogEnd(float end);
void SetFogColor(Vec3f color);
Internally most of these functions just modify some internal state, rather than actually drawing anything. The real drawing happens mostly inside EndObject. It will take all the vertex information you’ve provided since called BeginObject, transform it into an appropriate format (i.e. vertex buffers etc) and give it to the GPU along with all the uniform data such as lighting, fog info and so on. Then special shaders will draw it using the techniques described above and voila, you have a frame. It’s extremely simple, and this is very intentional. Just like how Pico-8 is a good place to start making games, I want this to be a good place to start making 3D games.
Note that Polybox is open source, and you can view this rendering code and all the rest of it’s code on it’s github page here
I’m pretty excited about Polybox, it’s a very enjoyable project that has some great potential. There’s a lot more I want to do with it above the rendering system, such as having it run your code in a VM with PS1 like hardware limitations, but that is for another day. I think we’ve faithfully recreated the PS1 look and if you ever want to make a retro game I hope this article has been a helpful starting point for getting the look right. Below I’ve provided a list of all the things that helped me research this article and the project, there is some absolute gold in there that goes into a lot more detail on some things so do take a look.